During the sumer of 2017 I had one day to re-structure the battery configuration and battery switches in a medium sized catamaran. Halfway through the day a gentleman stopped by the catamaran to urgently request that I come by his boat to look at a burnt wire he needed fixed. Since I was up to my elbows with wires and batteries, I agreed to take a look before I left the marina.

Before heading home for the day I stopped by his boat. It was a Tiawaneese trawler type recreational craft built in 1987. As I walked onto the boat, the owner explained that while he was on his way back to port, he lost all engine guages and he was unable to shut off the engine when he got back to the slip. Upon looking under the engine control panel, he had found a red wire that looked burnt. In addition he mentioned that the exhaust pipe broke at the manifold and that the engine compartment was filled with soot. Since I had to get home and the sun was starting to set, I took a quick look to see what was up. I quickly suspected that there was more than the one wire that was bad. I made a date to meet him a few days later since I had some time in my schedule and could move an apointment. He agreed to further clean as much of the soot out of the engine room and move a hot water heater in order to get more room to work around the engine.
A few days later I arrived at the boat thinking I may be able to replace the suspected wire and anything else and be on my way. In about fifteen minutes I knew the damage was much deeper than what meets the eye. Since the owner was there with me, I started separating the burnt wires. I knew it was going to be a big project but by observing the concern level of the owner, I took a little extra time to uncover as much damage I could.
Looking through the picture bar below you can see the wire bundle. If the insulation hadn't burned off, it melted onto a solid block of wires.This wire block started above where the bundle passed by the broken exhaust pipe, and passed by the port side of the engine, up into a wire chase and across to the terminations behind the helm station and up to the helm gauges. I'm not sure exactly how the meltdown started. I feel that the non fused red wire from the ignition switch that ran all the way up to the fly bridge was a key factor. The other key factor was the exhaust pipe separating from the engine manifold. The hot exhaust was blowing directly onto the unprotected wire bundle nearby. This bundle also was lying against a sheet metal "heat shield" that was knocked out of position. The heat and sharp edge softened the insulation until the red wire shorted to another ground wire next to it. Since the red wire was not fused, there was no stopping the power to heat the wire red hot and melting the insulation off. Since this happened along the whole length of the bundle other wires started to short and finally melt away. Luckily none of the starter cables were heavily damaged. If these wires shorted to each other, I'm sure a battery fire would have happened. If the boat hadn't gotten back to the dock when It did I'm sure there would have been an a fire rescue at sea.
My apologies for the blurry pictures. Click on the picture for a bigger view.
The owner got his boat back to the dock just in time. He was able to shut off the fuel to kill the engine. Since there was so much exhaust in the engine compartment, he didn't notice the wire burning smell. At this point I knew this would be a rather expensive and time consuming repair. There was no way to know if any of the electronics were damaged since there was no power to anything. My advice to him was to contact his insurance company and make a damage claim. I provided to him the pictures in the above gallery to forward to his insurance company. The last thing I did before leaving the boat was to make sure the bilge pump was working.
Dealing with the insurance company was rather straight forward. I met with a marine surveyor who represented the boat owners insurance company. I submitted an estimate along with a parts list to be able to bring the boat up to a working condition. The boat owner was the sole interface with the insurance company. After a week or so I had all the materials in hand and started the restoration.
The restoration was rather straightforward. Upon cutting out the bad wire I restored the shore power part of the boat wiring. The shore power was the deepest of the wires in the wire chase forward of the engine. Shore power also has the highest probability of lethal ability, so I wanted to be sure to get it correct. Once the shore power was done I focused on the boats DC systems, pumps, refrigeration, lights, etc. Finally I restored the color coded engine wiring.
The most interesting part was powering up everything. Except for an engine gauge or two everything came up right away. The only real issue was lack of a reliable engine wiring diagram. I figured it out anyway.
Once everything was working I bundled the wires up in a split loom and cleaned up the last items. Remember the red wire from the ignition switch, It turned out that it was run up to the fly bridge to power an electronic device. The sad thing is that there was already power available on the fly bridge. That wire was completely unnecessary. Another example of someone knowing just enough to get themselves into trouble and not fusing to protect the wire.
Overall it took me about 40 hours to get everything done.
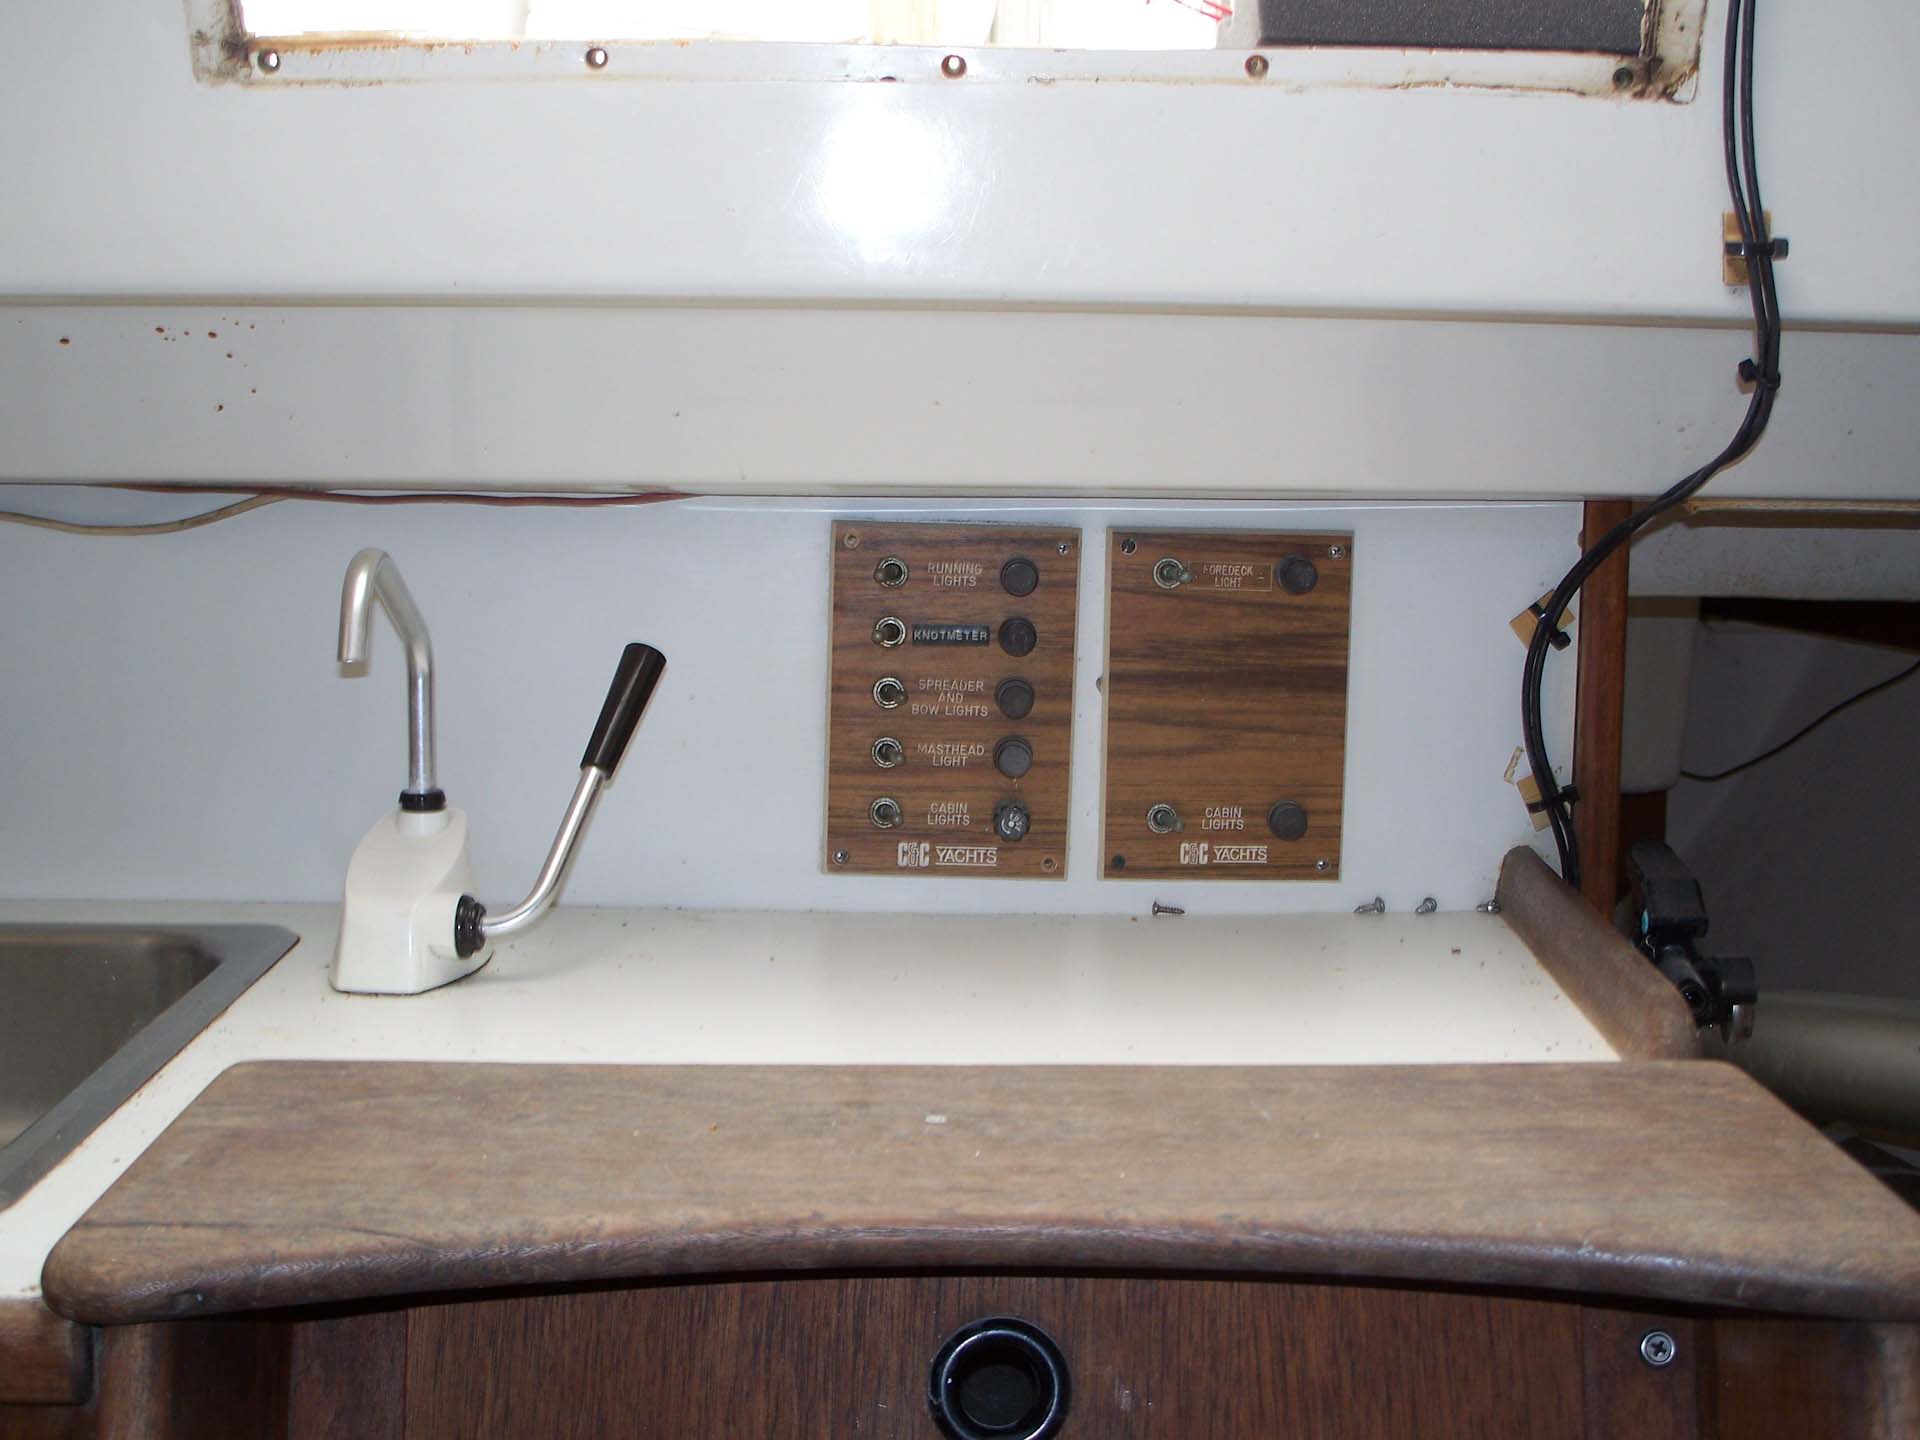
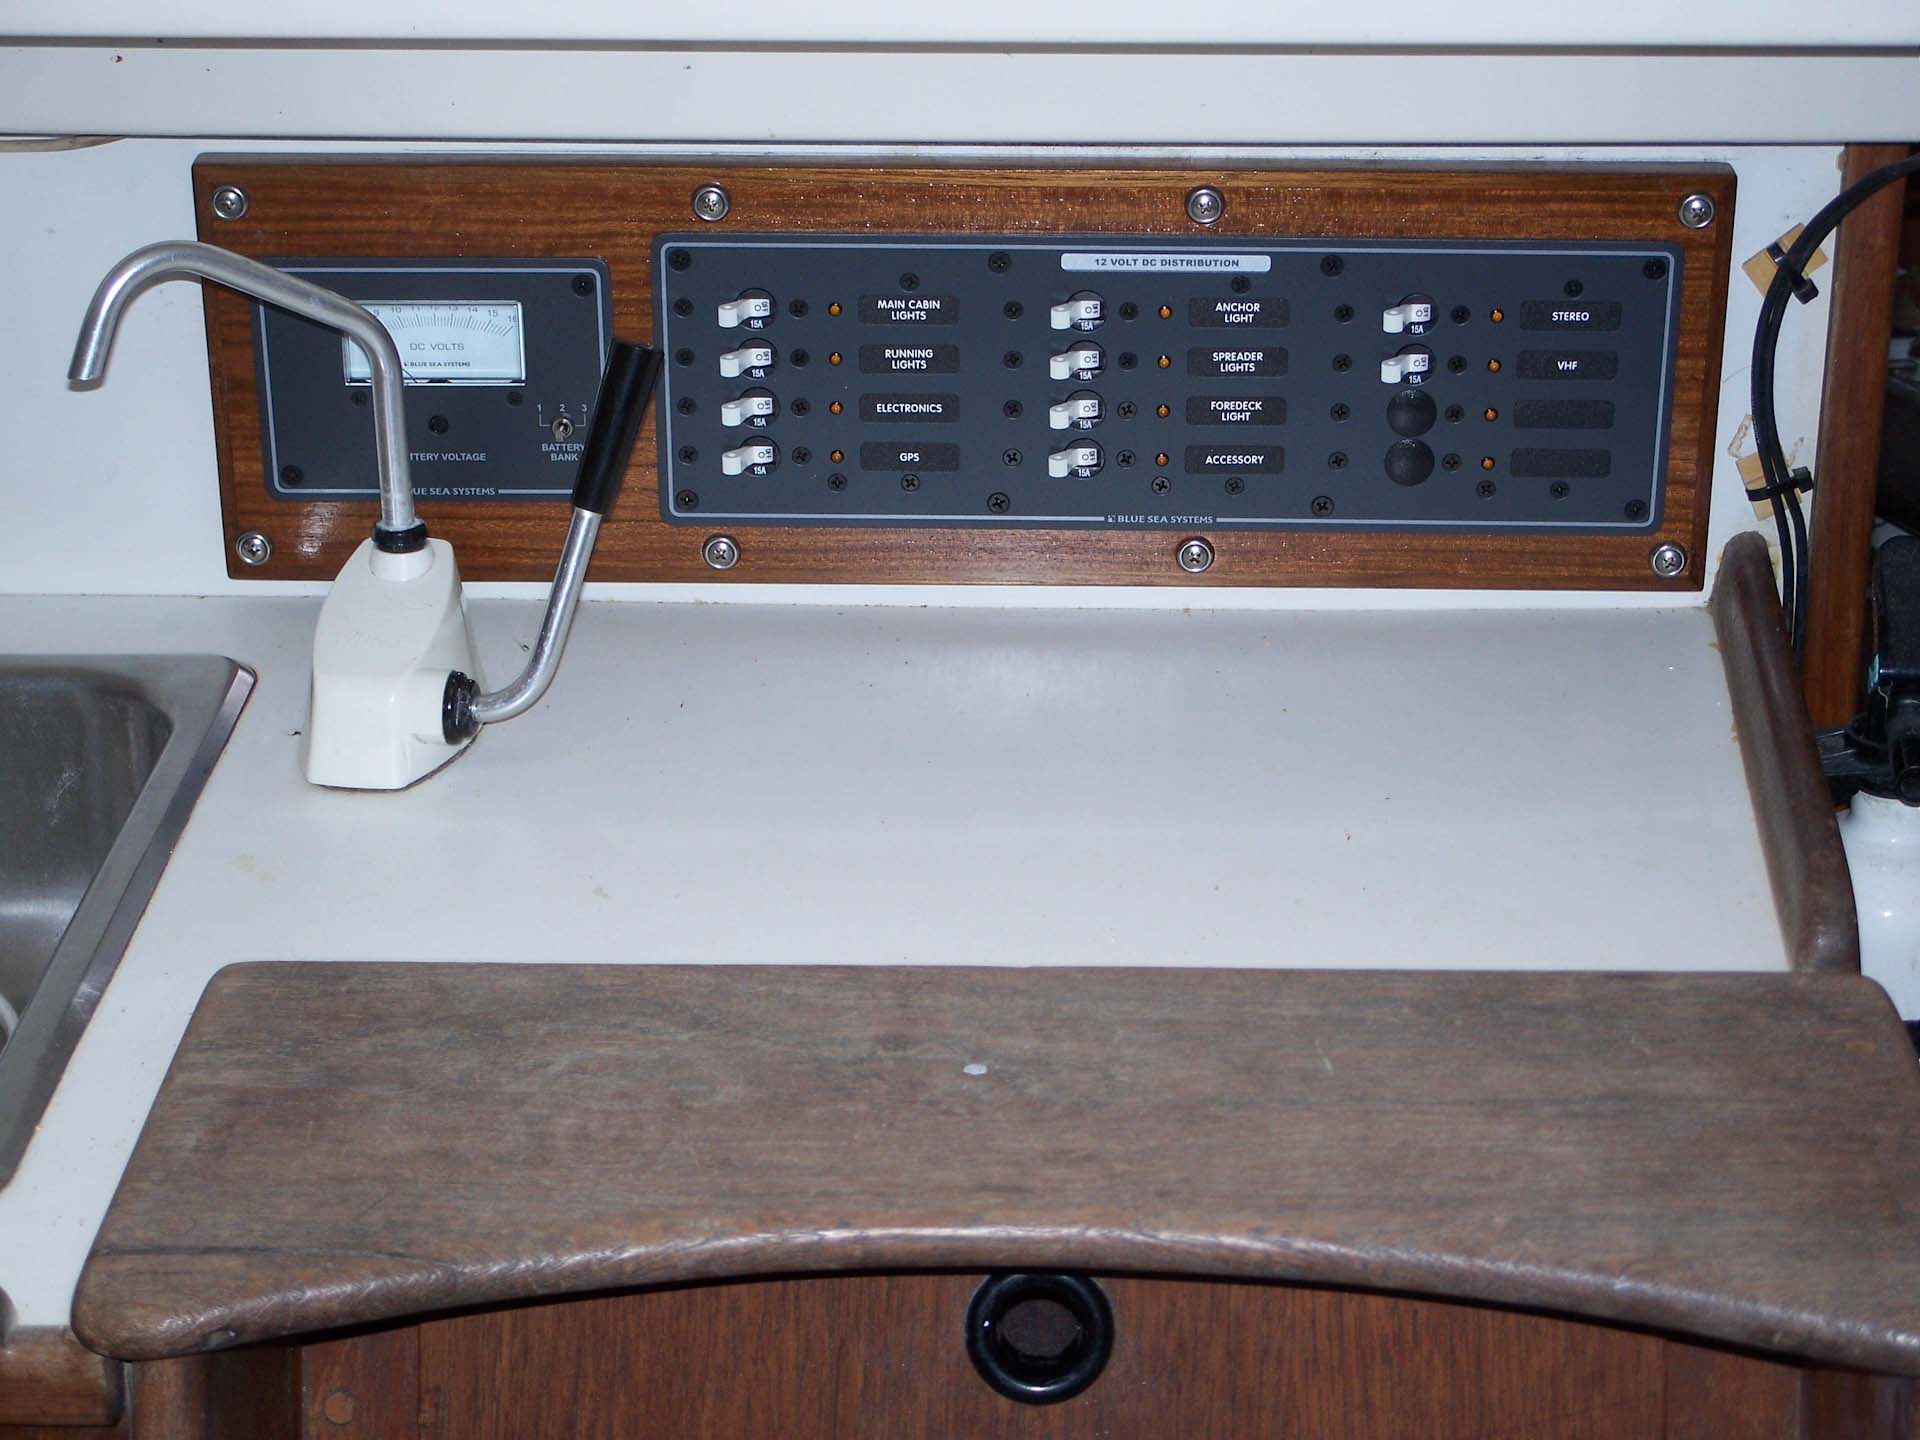
Often on old boats the old switch panel needs replacement. It is common for fuse holders to corrode and the switches to break. Finding the exact replacement part is almost impossible. The easier thing to do is replace the panel. I have seen many times where switches are located in places that only the person installing the switch would know about. A new panel will enable consolidation of switches found around the boat into a central location.

This customer wanted an inverter installed. He already had a battery charger and only needed an outlet in the galley. To do this I installed a small Xantrex inverter above the ice box. To power it I installed through bulkhead terminal posts. This reduced the need to bend wiring and make the wiring ugly coming through holes in the bulkhead. I also replaced the battery switch and installed an Automatic Charge Relay, both from Blue Seas Systems. Unfortunately I did not get pictures of the final inverter install. This is what I have:
Scroll through the pictures and see the captions that go with the pictures.
Here is the final breaker panel install. Off to the left is the inverter location ( not shown).

Sometimes the manufacturer of a boat provides the bare minimum of what the boat needs to be operable. This customer wanted to be able to live more comfortably while away at anchor. The issue with the stock boat was the the twin engines had a battery for starting each engine. The house loads were drawn off of one of the batteries. That battery quickly emptied while at anchor.
The fix to this issue was to add an additional large battery (8d) as a dedicated house bank.
Here is a step by step collage of pictures showing the process of installing a Raymarine GS system. The system consists of the Raymarine GS 19" display, the RMK-9 Remote, the data chip port for the chartplotter, 2 i70 multifunction displays, Fusion remote control, An engine system controller, and a USB charging port. Also attached bu not shown are the radome, VHF radio, and optical camera in engine compartment. I fabricated the mounting board from 1/2" cherry plywood and finished to match the interior finish . Click on the individual images to get descriptions of the pictures.


